HearLink includes a built in organisation wide chat to support quick, internal communication between users. The chat provides a central place for conversations and coordination without needing to rely on external messaging tools.
This feature is designed for day to day collaboration, helping teams stay aligned while working across clinics, calendars and patient records. If you only want specific user's using the chat, like everything you can remove access using Groups.
In this article we'll cover how to:
- access the organisation chat.
- send and receive messages.
- manage notifications for new messages.
- create and use group chats.
- edit a group chat.
- send private messages.
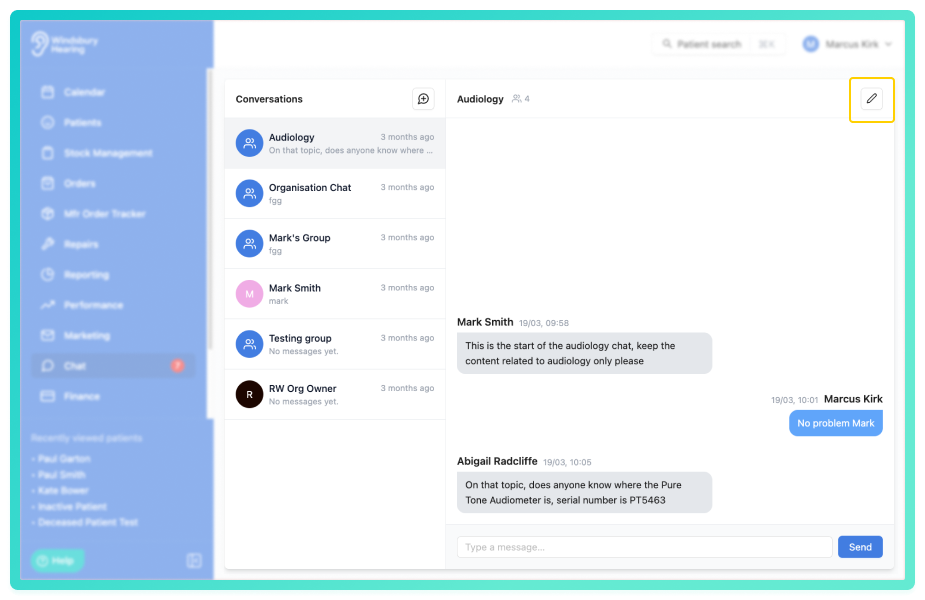
Access the organisation chat
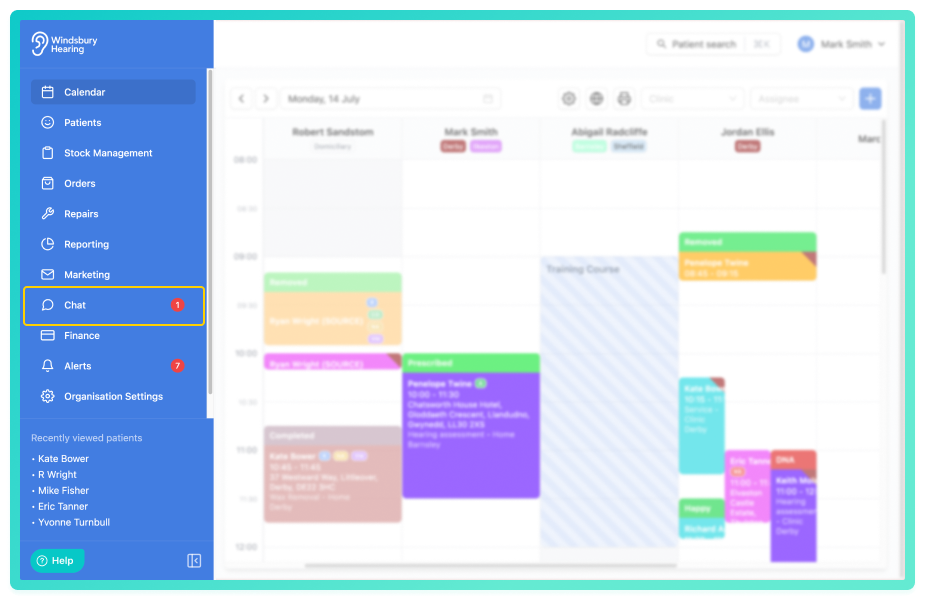
- Navigate to Chat.
Once opened. you'll see all chat groups you are a part of and an Organisation Chat used by all users within the organisation.

Send and receive messages
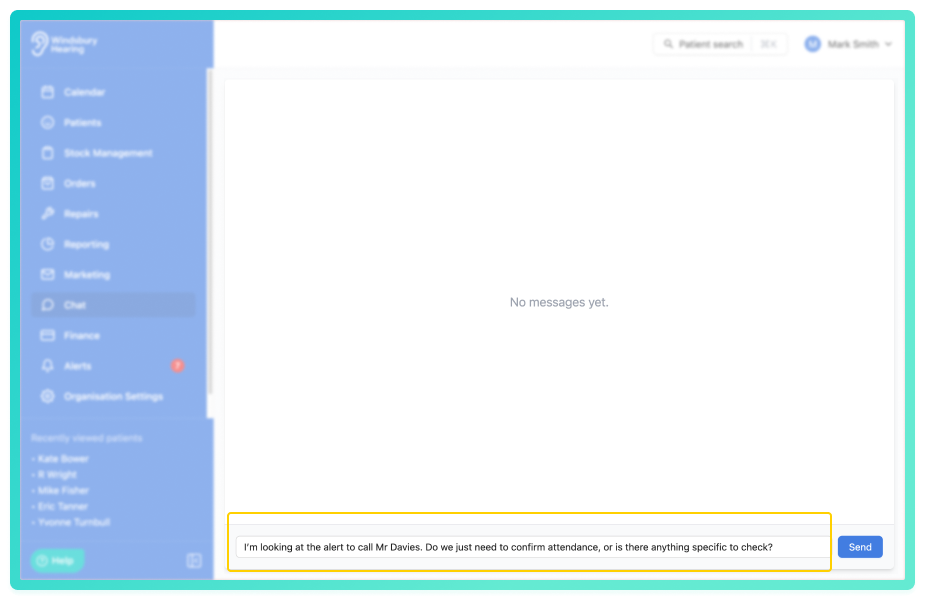
- Press Send to post the message to the organisation chat.
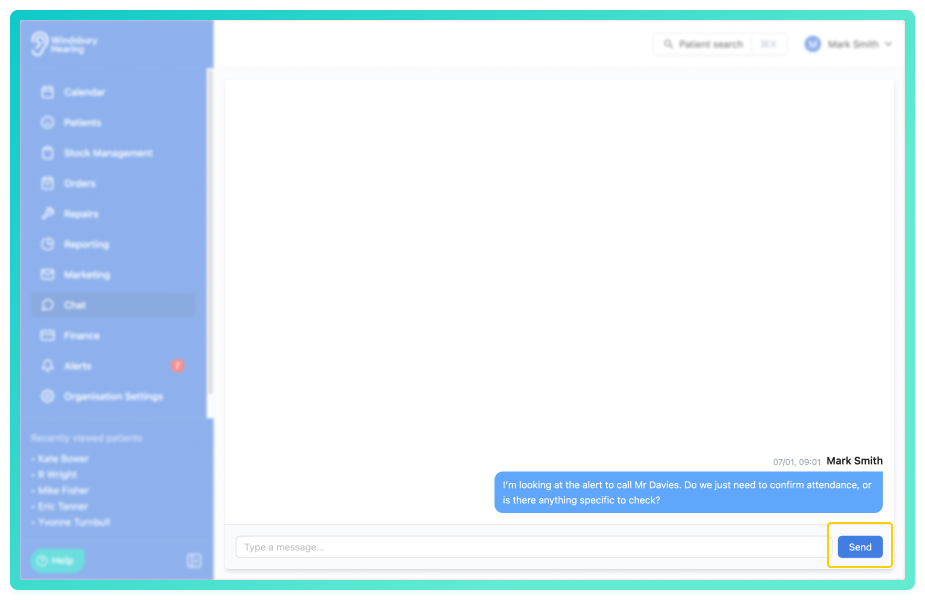
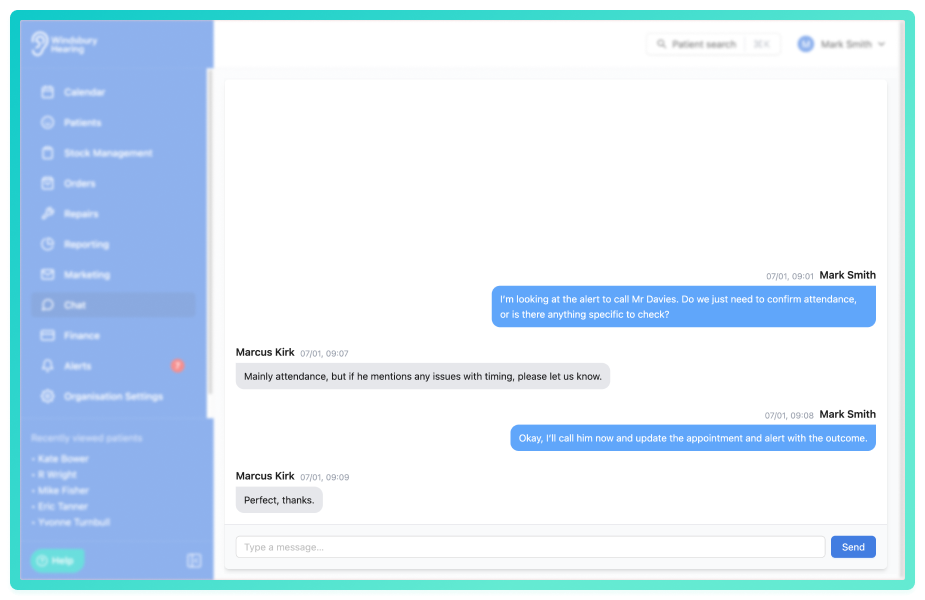
All user's in the organisation can view and respond to messages in real time. Messages are visible to everyone, making the chat ideal for announcements, quick questions or coordination between teams.
Notifications
Each new message triggers a notification for user's in the organisation.
Notifications help ensure important messages aren't missed, even when users are working elsewhere in the system, such as the calendar or patient dashboard.
Group Chat
HearLink allows the creation of custom group chats, enabling smaller teams or specific project groups to communicate separately from the organisation wide chat.
- Click the Create Group icon.

- Choose Group as the Type.
- Enter a Group name.
- Add the users you want included in the group.
- Click Create to start the group chat.

All members of the group can send and receive messages in real time. Group chats are ideal for team specific discussions or projects that don't need to be shared with the entire organisation.

Edit a group chat
Group chat creators and organisation owners can edit a group chat's name and participants after creation.
- Open the Group chat you want to edit.
- Locate and click the Edit
 icon in the conversation header.
- Update the group name as required.
- Add or remove participants from the group.
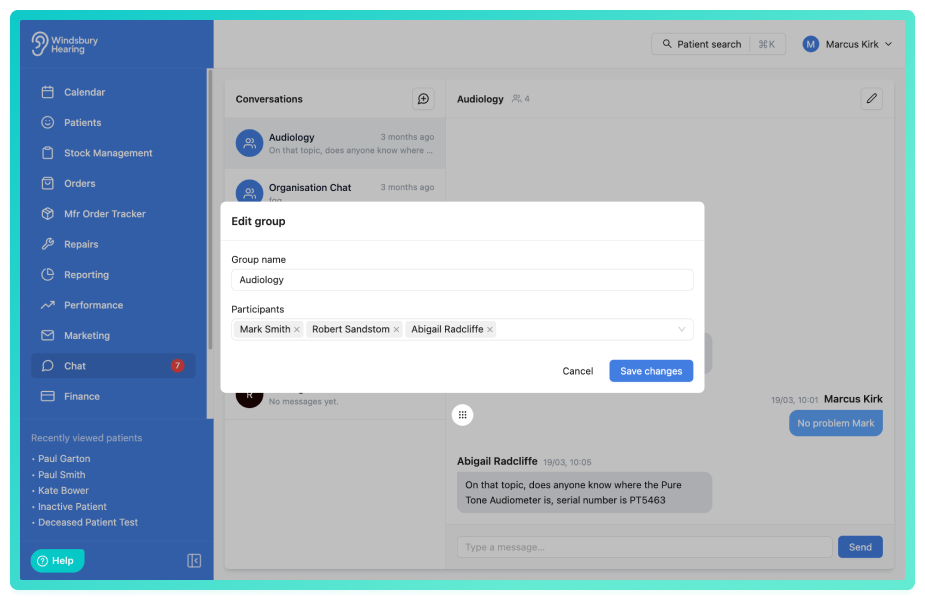
Reminder: A group chat must contain a minimum of one participant.Private Messaging
Users can also send one to one private messages to other users for confidential or direct conversations.
- Click the Create Group icon.
- Choose Direct message as the Type.
- Select the user to message.

Private message are visible only to the sender and recipient, making them suitable for quick personal updates, sensitive information or direct requests.
Was this article helpful?
That’s Great!
Thank you for your feedback
Sorry! We couldn't be helpful
Thank you for your feedback
Feedback sent
We appreciate your effort and will try to fix the article