A secondary workflow in HearLink allows your organisation to manage supporting processes alongside the main patient journey. This is useful for parallel activities such as repairs, product trials or follow ups that need to be tracked separately but still relate to the main workflow.
In this article we'll cover how to:
- create a secondary workflow.
- attach a secondary workflow to a primary workflow.
- select a secondary status.
Only users with the correct permissions can create secondary workflows. If you think you should have permission to perform such an action please contact the organisation owner.Create a secondary workflow
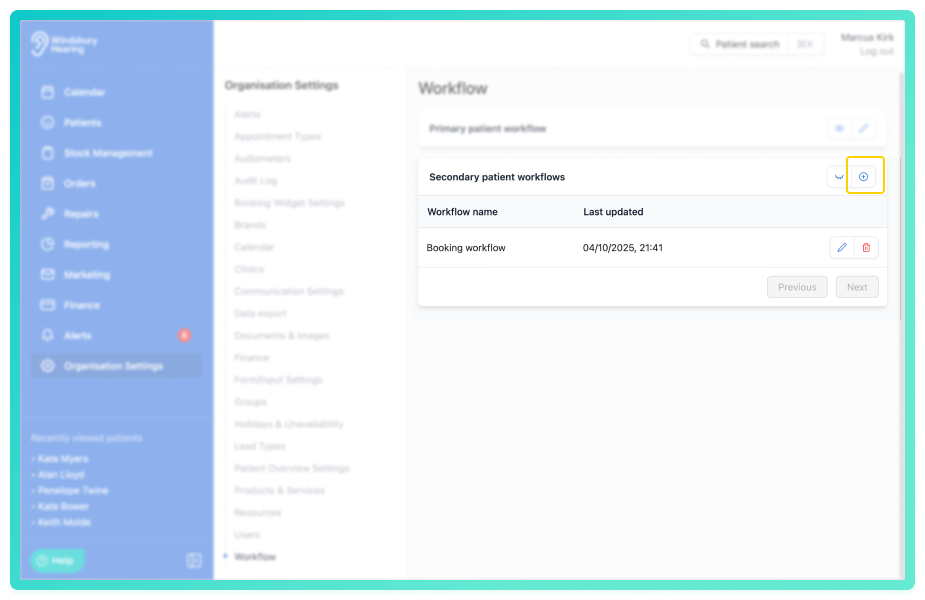
- Navigate to Organisation settings.
- Locate and click the Workflow section of the settings.
- Click the Create secondary workflow icon.
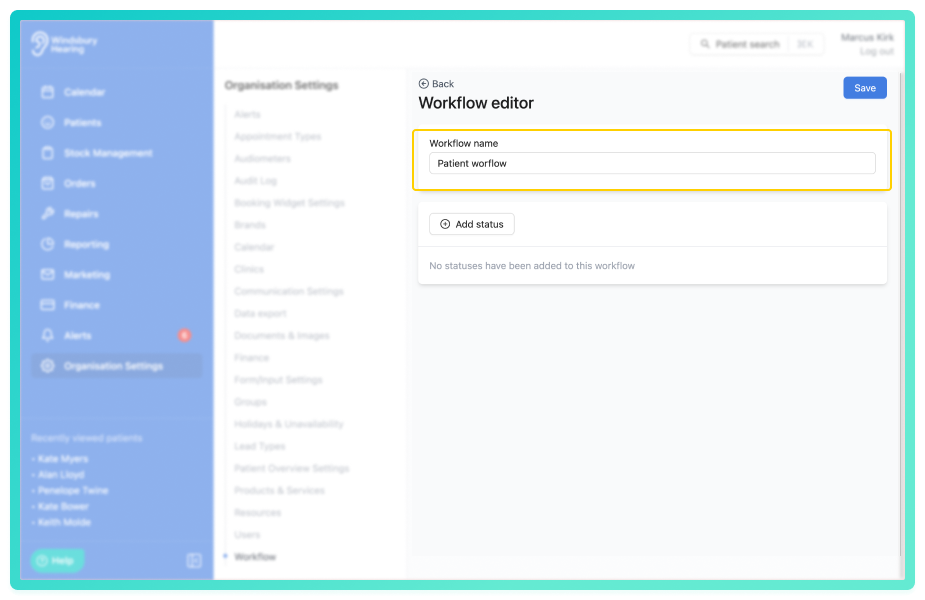
- Enter a name for the secondary workflow.
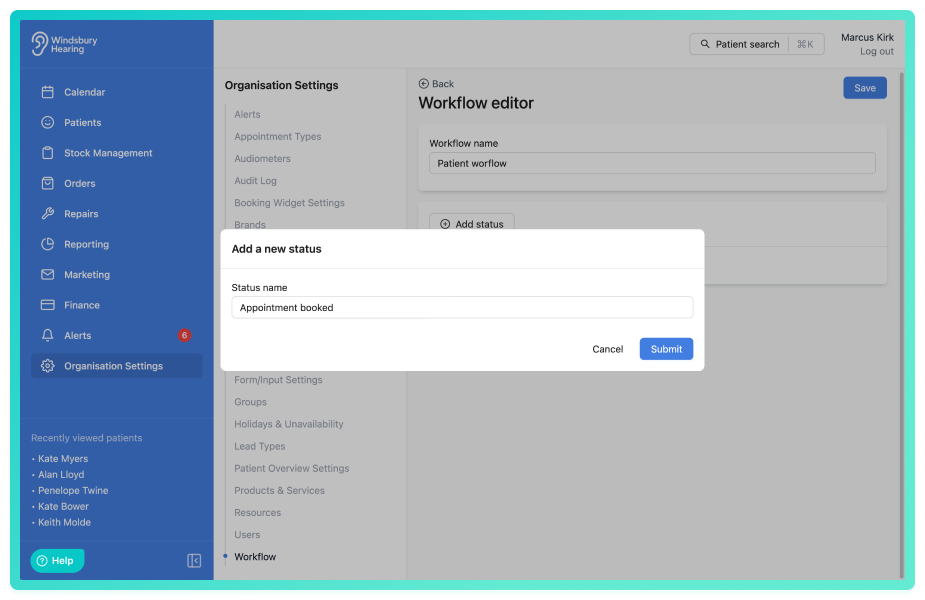
- Add a new status
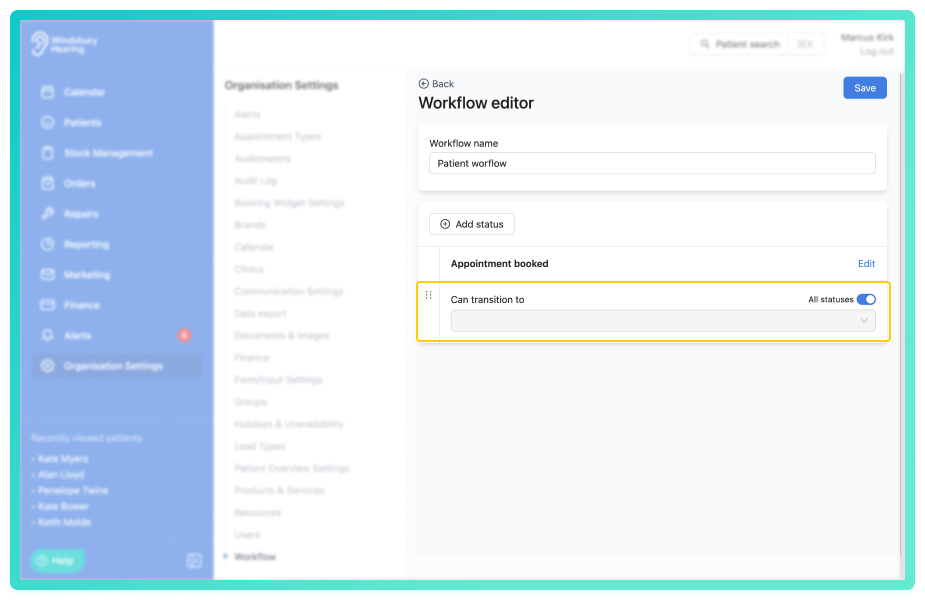
- Add any custom transitions or select All statuses to allow this status to transition to all statuses.
Attach a secondary workflow to a primary workflow
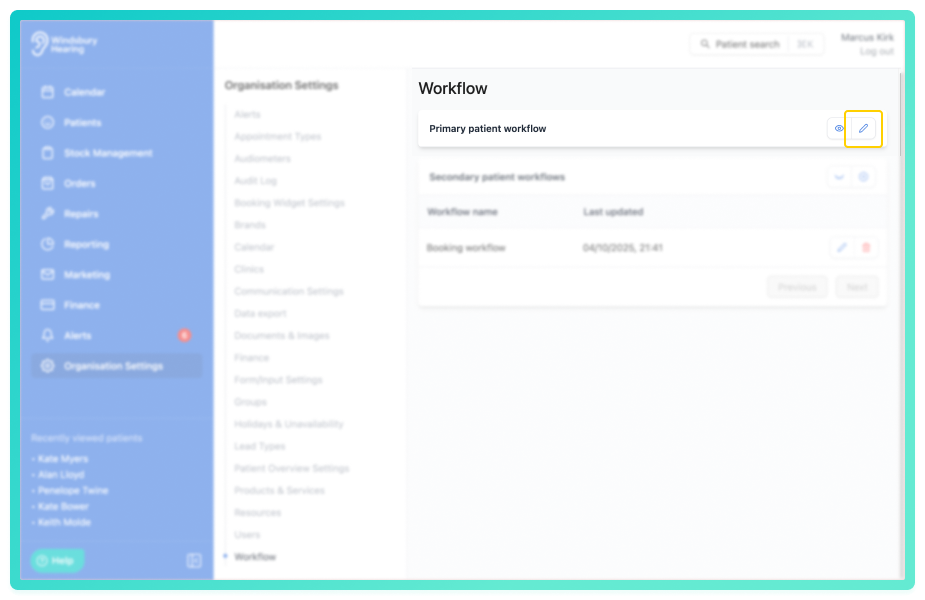
- Navigate to Organisation settings.
- Locate and click the Workflow section of the settings.
- Click the Edit
 icon on Primary patient workflow.
- Locate the primary workflow you want to attach the secondary workflow to.
- Click the dropdown menu under Secondary workflow, select the desired secondary workflow.
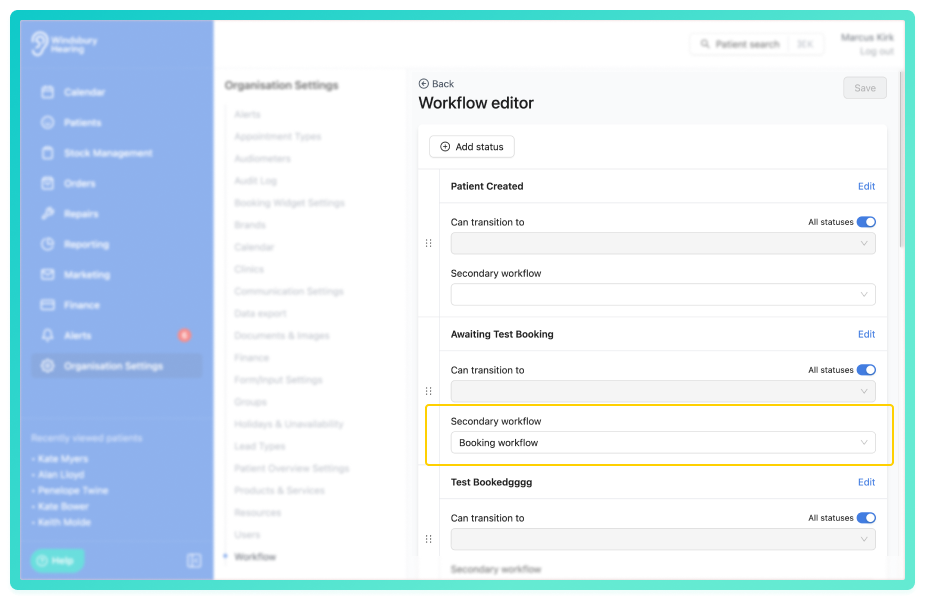
The secondary workflow is now available for selection within the linked primary workflow.
Select a secondary status
- Navigate to the desired patient.
- Locate the Update text on the patient details section.
This will be displaying the current patient status.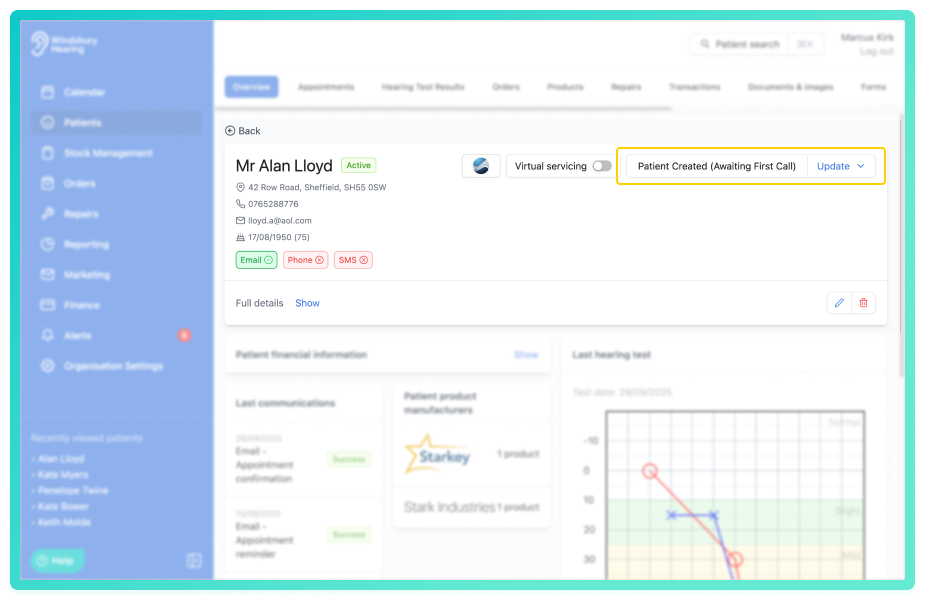
- If the patient is on a current Primary workflow with a Secondary workflow attached to it, you will see the secondary workflow status options.
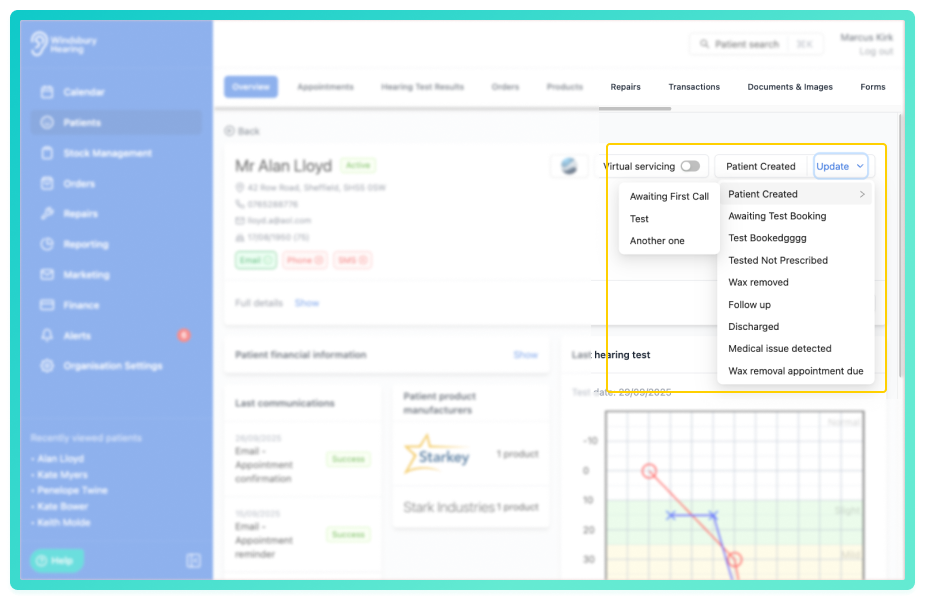
- Select the required status from the list.
What happens when you change a status?
If the selected status is linked to an outcome (set up in your appointment types), it will automatically update any matching appointment, applying the relevant outcome banner and logging the change.
| Status | Linked Outcome | Banner (custom colour) |
|---|---|---|
| Wax removal unsuccessful | More Investigation | |
| Wax removal successful | Removed successfully | |
| Follow up needed | No | None |
To learn more about how outcomes and statuses connect, see How to use outcomes.
Was this article helpful?
That’s Great!
Thank you for your feedback
Sorry! We couldn't be helpful
Thank you for your feedback
Feedback sent
We appreciate your effort and will try to fix the article